Showing posts with label Cooking. Show all posts

Monday, June 12, 2017

Instant Pot: Spaghetti with Meat Sauce

I adapted this recipe a little from The Lean Green Bean.  After finishing the steps below, my husband added a can of tomato sauce and a can of diced tomatoes to make the sauce creamier and thicker.  I will make it again!  It was super easy to cook and the pasta cooked quickly without having to worry about water boiling over!

Ingredients:
2 cloves garlic, minced
1 tsp onion powder
1 pound ground meat
8 oz dried pasta
24 oz jar pasta sauce
12 oz water

Instructions:

  1. Turn Instant Pot to Saute setting.
  2. Add garlic, onion powder, and meat and cook until no longer pink.
  3. Turn instant Pot off.
  4. Add pasta, pasta sauce, and water and stir well.
  5. Set Instant Pot for 5 minutes using manual mode.
  6. Use quick release.


Tuesday, March 14, 2017

Kids Helping in the Kitchen

Ashlyn and Jakob have sure enjoyed helping in the kitchen more since we started receiving dinners from Hello Fresh.  They both are excited and are interested in helping me in the kitchen more.  An easy way Ashlyn helps is by shaking the vegetables and potatoes with a bit of olive oil and seasoning.
February 15, 2017

February 26, 2017
Jakob helped me last Monday, March 6th, in the kitchen by preparing a taco seasoning recipe from All Recipes.  I have been working on getting both kids in the kitchen more and love they are wanting to help!


Our next Hello Fresh kit will arrive this upcoming Saturday!  My goal for Jakob is to begin getting him to cook one of the three dinners.  The instructions are step by step with pictures which would help him learn the basics of cooking.  Jeff and the kids like fish, so I ventured with adding the salmon recipe.

My Hello Fresh Menu for March 25th - March 31st:

  • Wasabi Lime Salmon over Soy-Simmered Rice with Baby Bok Choy
  • Roasted Pork Tenderloin with Lemony Potatoes and Zucchini
  • New York Strip Steak with Truffled Mashed Potatoes and Green Beans Amandine
To attempt to the keep the cost down on Hello Fresh, I normally add additional vegetables to my weekly grocery trip based on the recipes and cook those portions as four people per the recipe (give or take).  Hello Fresh has simplified my dinner plans and the stress of planning every week.  On average, we receive Hello Fresh twice a month now.  I have enjoyed the variety of the dinners and how the dinners are Weight Watcher's friendly and follow the plate method concept.


When Jeff was diagnosed with pre-diabetes, we quickly learned about the plate method.  Roni, my Weight Watcher's leader, recently also discussed dinner plates used to be nine inches.  Our current plates are approximately twelve inches, but have a rim.  The inside of the plate is about nine inches which is where we tend to place the food.  Through learning how to eat better, Jeff within the first year of being diagnosed pre-diabetes, was no longer pre-diabetic.  Over the last year, the two of us are continuing to exercise and eating healthier.  I love how we are teaching our kids how to cook and eat well balanced meals.

Sunday, July 31, 2016

Epic Fail - Plum/Pluot Jam


About a week ago, I received plums and pluots from Bountiful Baskets.  Yesterday evening, I decided to make some plum and pluot jam because my plums and pluots were extremely ripe.  Rather than throwing them out, I figured I could make a small batch of jam.  It was my first attempt to make plum and pluot jam.  I have only attempted strawberry jam one other time.

Last night,  I suspected I had over-heated it because it was hardening quickly and was extremely thick getting it into the jar.  I was a little worried about getting the remaining mixture out of my pan.  Reflecting back on my strawberry jam, I remembered using my meat thermometer to watch the temperature rather than the sheet method.

This morning, I placed the jar in the refrigerator to get it cold and after church figured I would open it and see how it turned out.   Sure enough, I opened the jar and the "jam" was a rock solid!!  Instead of jam, it appears I made hard candy.  However, my hard candy was stuck inside of a Ball jar! OOPS!


Recently, Chris Shade stated in a recent TED Talk, "If failure is not an option, then neither is success. If you've never failed, you've never tried anything new."

Looking forward to trying again!

Thursday, January 02, 2014

Pantry Challenge January 2014

As I plan our upcoming menus for the next weeks, my goal will be to use groceries we already have to save money and reduce waste.  This will help clean it out the pantry and the freezer of different foods.  I would also like to clear out more of the processed foods in the pantry and continue to learn how to cook more from scratch.  As also mentioned in an earlier post, we are eating more recipes that are Paleo and I am limiting my gluten consumption.  A cleaned out and organized pantry will give us additional room for any new items needed in the future along with making it easier to reorganize.


My goals for the Pantry challenge:

  • Lower our monthly food budget
  • Finish off the remaining processed foods
  • Reorganize our pantry
  • Clean out the outside freezer to allow it to defrost
Friday, January 3rd is officially our first day of the challenge.  However, the most recent items we have cooked this past week have been from my menu plan which mostly consisted of items we already had on-hand.  

Saturday, December 28, 2013

Sweet & Savory Sweet Potatoes (Paleo, Gluten Free, Dairy Free)

I cooked these sweet potatoes a few weeks ago after receiving the book, Practical Paleo.  They were quick and easy to prepare and the kids loved them too!  I cooked them on my Pampered Chef Large Bar Pan to cook them at an even temperature and to help them brown quicker.


Sweet & Savory Sweet Potatoes 

Ingredients:
2 large sweet potatoes 
1 tsp bacon fat or coconut oil (melted) 
1/4 tsp onion powder 
1/4 tsp garlic powder 
1/2 tsp cinnamon sea salt and pepper to taste 

Instructions:
Oven at 375. (I did 425). Chop potatoes into small bite size pieces and coat with oil. Combine seasoning and evenly coat potatoes. Bake for approximately 30 minutes.

Thursday, December 26, 2013

Still practicing in the kitchen with gluten free

After this past Thanksgiving, I had a severe reaction to a milk allergy.  Through talking with my mom, she had mentioned she had stopped eating bread products within the past month because she realized it was causing her vision to be fuzzy.  So I started reading about gluten and read how many of the symptoms I had over Thanksgiving.  Plus I read a small section relating gluten and Chrohn's disease which a few family members have too.  I have done okay cutting most dairy and most gluten products.  I have noticed I feel so much better when I do not have those products.  I have not officially been tested for the gluten intolerance, but I probably will after the new year due to insurance to allow all the claims to all be on one year.

After reading through the Facebook status updates, I thought it would be fun to bake a cake to celebrate the birth of Jesus.  I knew Jakob would like it and it would help Ashlyn understand what Christmas is really about for later years.  

I went searching online for a gluten free cake recipe from scratch based on what I had in stock.  I found one and read the comments that mentioned you could substitute the almond flour for an equal amount do the gluten free flour.  I had almonds that I could have made almond flour, but did not want to get my Vitamix dirty.  The recipe went well until the end!  The beater whipped the eggs and the melted chocolate and butter went well without burning it!  However, after mixing the flour mixture with the liquid ingredients it turned almost into a dough.  The instructions said to fold the mixture together and I figured just to use my mixer.  I'm not sure if that messed it up, but the taste of the batter was eh. 

I am planning to try again and know it can only get better.  After it all messed up, I asked Jakob if it would be okay to make a belated birthday cake and he said okay! :)

Saturday, August 03, 2013

Maple-Glazed Sausage with Wilted Spinach and Brown Rice


Last night, I cooked maple sausage w/spinach and brown rice.  I really like this recipe and the flavors work well together!  This is the second or third time I have cooked it and really like it.  I honestly can say I did not eat spinach often, but I will cook this recipe when I receive spinach from my local Bountiful Baskets.  Ashlyn does not like the spinach as much, but both Jakob and Roland have both wolfed it down which really surprised Jeff and me.  My one recommendation is to really watch the time on the spinach.  The first time I really wilted it quickly and have turned the heat down dramatically the last time I cooked it. Enjoy!

Maple-Glazed Sausage with Wilted Spinach
Servings: 4
Start to Finish: 22 minutes

Ingredients:
10 ounces smoked turkey sausage, cut diagonally into 3/4 inch slices
1/4 cup reduced calorie or sugar-free maple syrup
1/4 cup cup reduced-sodium chicken broth
1/2 cup finely chopped sweet onion
1/4 teaspoon dried sage, crushed
1/4 teaspoon black pepper
2 6-ounce packages fresh baby spinach (about 10 cups)

Instructions:
1. In a very large nonstick skillet cook sausage slices over medium-high heat about 3 minutes or until sausage is heated through and browned, stirring occasionally.  Reduce heat to medium-low and add syrup, tossing to coat sausage.  Remove sausage from skillet using a slotted spoon; cover and keep warm.
2. Add onion, broth, sage, and pepper to skillet.  Cook for 3 to 5 minutes or until onion is just tender, stirring occasionally.  Increase heat to medium.  Add spinach to hot skillet; cover and cook for 1 to 2 minutes or until spinach is just wilted, tossing once.
3. Divide spinach amount four servings plates.  Top with sausage slices.

Per Serving (Maple-Glazed Sausage with Wilted Spinach): 166 cal, 15 carbs, 14 g protein, 7 g total fat, 726 mg sodium.

Recipe from: Diabetic Living Diabetes What to Eat

Sunday, January 06, 2013

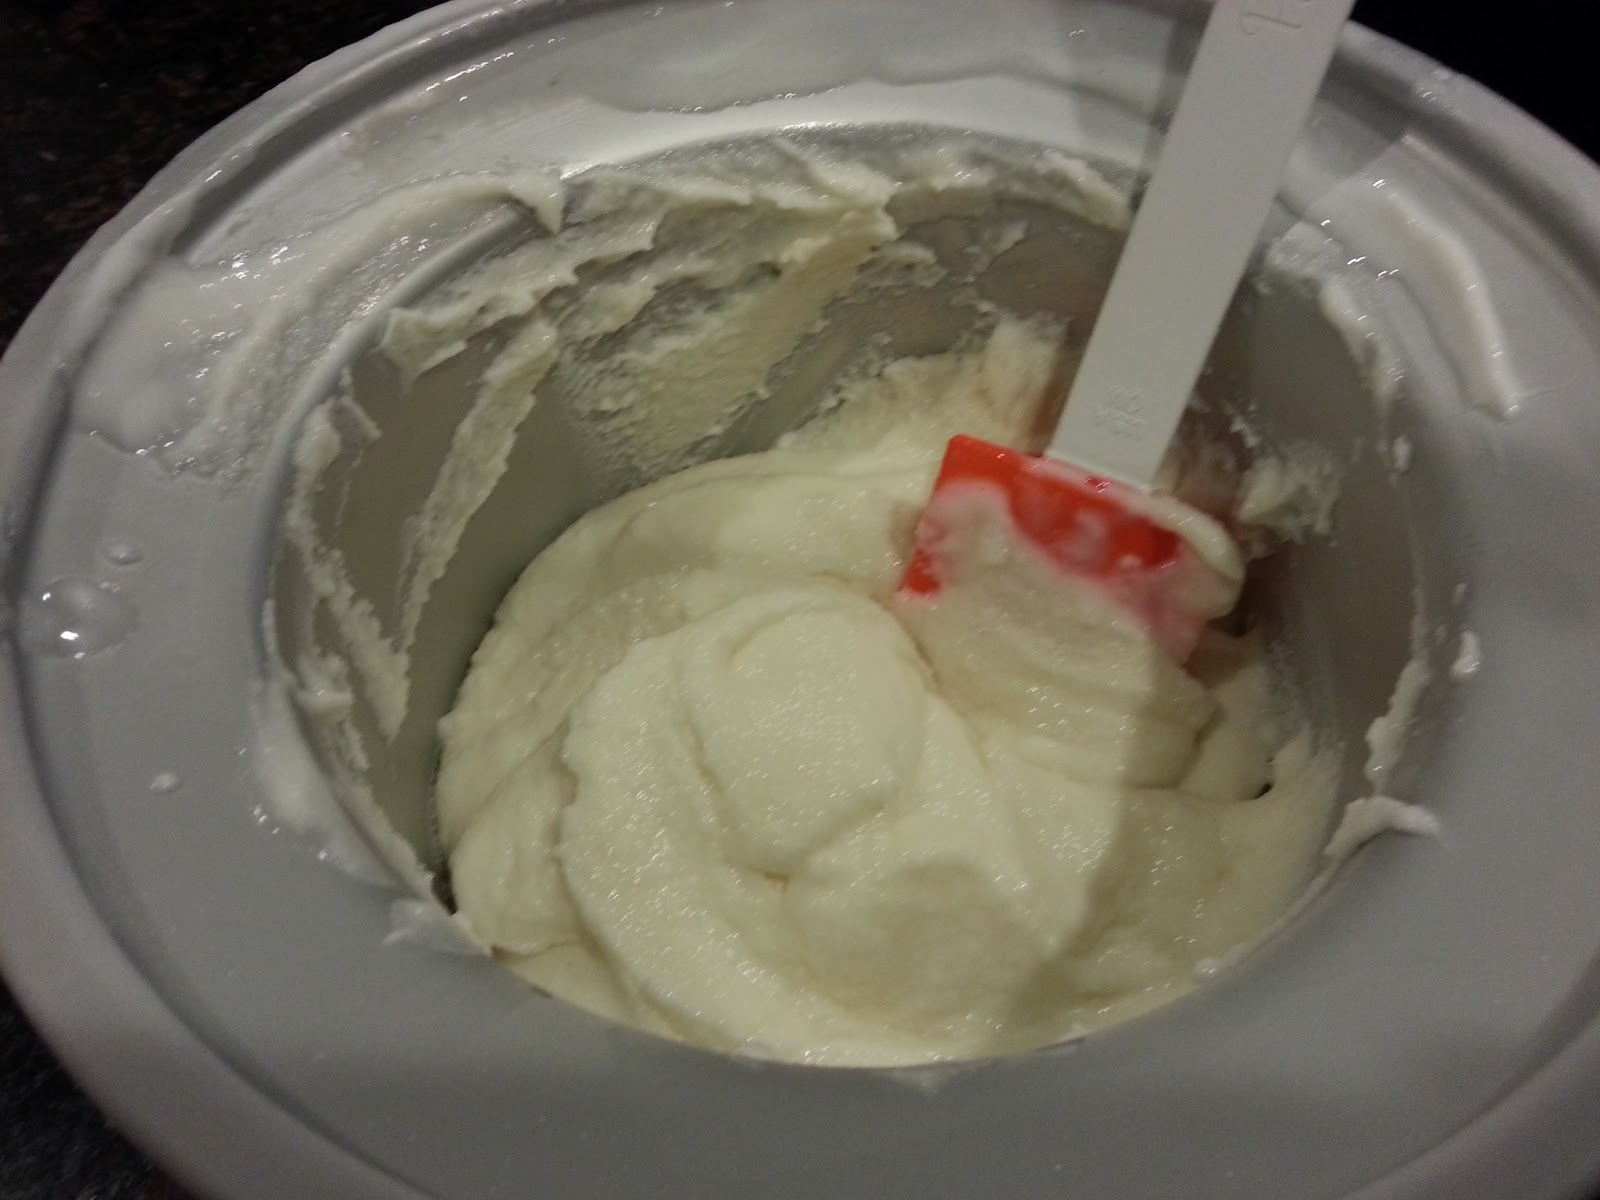
Homemade Frozen Yogurt


This is so delicious   All it is a 32oz container of vanilla yogurt, 1/2 cup of sugar, and 1 tsp of vanilla.  Make sure you mix it all together well before you place in your ice cream maker.  I made that mistake my first round!  While it is mixing, I washed the original container out and put the yogurt into it to put back in the freezer to get a little thicker.  Plus, according to Weight Watchers, it is only 3 points for about half a cup!

Thursday, May 03, 2012

Fabulous Wheat Bread from my Breadman Bread Machine

Over spring break, my mom chipped in and I bought me a bread machine.  I have been cooking a bunch with it!  My aunt, Mary, sent me some of her old bread machine cook books and have now made this wheat bread twice in it.  The first time I made it as a medium loaf (approx 1.5 lb?) and this time I made it as a small loaf (approx 1 lb?).  It taste delicious and it lasted for a good week without going stale in our bread box we bought from Amazon.


Small Loaf:
2/3 cup water (I bring the temperature up to approximately 110 degrees F)
2 1/2 TBSP butter/margarine
1/2 egg (optional) - I used the egg using the egg substitutes
1 1/4 TBSP sugar
1 tsp salt
1 1/3 bread flour
2/3 cup whole wheat flour
2 1/2 TBSP nonfat dry milk
1 tsp yeast

Friday, April 06, 2012

Banana Bread Recipe

Sunday afternoon, I attempted to make banana bread from a recipe out of the Breadman manual.  It was the Honey-Wheat Banana Bread.  It totally flopped, did not cook well, and overall was not like the banana bread Jeff and I have cooked before from a recipe from Tyler Florence.  I had two overripe bananas needing to be used and cut the recipe below in half to make a smaller loaf.


Banana Bread by Tyler Florence

2 cups all-purpose flour
1 1/2 teaspoons baking soda 

1/2 teaspoon salt 

4 overripe bananas 

1 cup sugar 

3/4 cup (1 1/2 sticks) unsalted butter, melted and cooled
2 large eggs 
1 teaspoon pure vanilla extract 

1/2 cup pecans, finely chopped 

Confectioners' sugar, for dusting

Preheat oven to 350 degrees F and lightly grease a 9 by 5-inch loaf pan.

In a large bowl, combine the flour, baking soda, and salt; set aside.

Mash 2 of the bananas with a fork in a small bowl so they still have a bit of texture. With an electric mixer fitted with a wire whisk, whip the remaining bananas and sugar together for a good 3 minutes; you want a light and fluffy banana cream. Add the melted butter, eggs, and vanilla; beat well and scrape down the sides of the bowl. Mix in the dry ingredients just until incorporated; no need to overly blend. Fold in the nuts and the mashed bananas with a rubber spatula.  Pour the batter into the prepared loaf pan. Give the pan a good rap on the counter to get any air bubbles out.

 Bake for about 1 hour and 15 minutes, until golden brown and a toothpick inserted into the center of the loaf comes out clean. Don't get nervous if the banana bread develops a crack down the center of the loaf; that's no mistake, it's typical. Rotate the pan periodically to ensure even browning.

Cool the bread in the pan for 10 minutes or so, and then turn out onto a wire rack to cool completely before slicing. Toast the slices of banana bread, dust with confectioners' sugar, and serve.

We Made Homemade Pizza using Breadman

A few weekends ago, Jeff and I made our first homemade pizza and it was delicious!  I used the recipe from the Breadman bread machine and since making it for the first time, I have done it again.  The dough takes about an hour to make in the bread machine, and then takes about 15-20 minutes to cook at 425 degrees in the oven with the toppings of your choice for your pizza!

All the ingredients ready to mix in the Breadman.

Dough is finished after 55 minutes and ready to shape into pizza.

Watched a Youtube video to help and ready for the toppings.

Can you tell Jakob wanted cheese pizza?

Final cooked version of the pizza!  It was the best pizza I have had lately and plan to make more of it!
Pizza Dough Recipe 1 lb (Makes 1 thick crust or 2 thin crust pizzas)
3/4 cup water
1 T Oil
1 T Sugar
1 1/2 tsp Salt
1 T Dry Milk
2 1/4 cups Bread Flour
1 tsp Active Dry Yeast

Friday, March 23, 2012

Baking Bread using my Bread Maker

On Wednesday afternoon, my new Breadman bread maker arrived from Amazon.  My mom graciously donated money toward purchasing it.  We made a 2lb loaf of white bread Wednesday evening and it was pretty good.

Today, I began experimenting using the same recipe.  However this time I did a 1-lb loaf of white bread on the light setting.  The current recipe is from the Breadman instruction manual.  I have not bought any bread recipe books.  I looked at a few at Barnes and Noble on Tuesday and Wednesday, but have not decided on a specific book.  If you have any recommendations, I would love the feedback!

All ingredients in the bread maker.

About three hours later, bread is cooked and ready to cool.

The bread is ready for dinner.
With our upcoming menu for next week, we have plans to make a french loaf and pizza dough for the pizza!  Originally, I thought about making corn bread with dinner tonight but did not realize we were out of cornmeal.  There is always next time!

Wednesday, June 22, 2011

Easy Garlic Cheddar Biscuits


I made these tonight and I liked them, but will make some changes the next time I cook them which I have listed below.  They were quick and easy to make.  My six year old enjoyed them and the fourteen year old was hesitant, but I also think he was full after having two helpings of the hamburger helper we were eating for dinner!! 

Ingredients:
  • 2 TBSP butter, melted
  • 1/8 tsp garlic (for butter mixture)
  • 1/8 tsp garlic (for biscuit mixture)
  • Dried Parsley
  • 2 cups Bisquick
  • 1/4 cup Cheddar cheese
  • 2/3 cup milk
Instructions:
  • Preheat oven to 400 degrees.  Line a cookie sheat with parchment paper.
  • Melt butter and add 1/8 tsp of garlic to mixture.
  • In a large bowl, combine biscuit mix, cheddar cheese, and another 1/8 tsp of garlic.  Stir in milk and mix (do not over mix).  Drop batter by heaping tablespoonfuls onto prepared cooking sheet.
  • Bake for 10 minutes.  Brush or drizzle biscuits with melted butter along with sprinkling parsley lightly on top of biscuit.  Bake for 5-7 more minutes, or until lightly browned on the bottom.
Recipe adapted from Skinnytaste.com.  Original recipe can be found here.

Friday, June 17, 2011

Baked Chicken with Dijon and Lime

Original Photo from Skinnytaste.com using Chicken Thighs
In this week's menu, I had Baked Chicken with Dijon and Lime on the list.  We made it yesterday evening served along with Oven Fries and it was really good!  It was a hit with the entire family including a six year old and fourteen year old!

The original recipe calls for chicken thighs, but I used boneless skinless chicken breast instead since that is what we normally purchase from the store.  I adapted a few things in the recipe since I used chicken breast and it all worked great together!

Ingredients:
3-4 Boneless Skinless Chicken Breast
3 TBSP Dijon mustard
1 TBSP light mayonnaise
1/8 tsp garlic powder
1 lime, squeezed (about 1 TBSP)
3/4 tsp pepper
salt
dried parsley

Instructions:
Preheat oven to 400 degrees.  Rinse the chicken and remove all fat.  I cut the chicken breast in half, length wise to help it cook faster.  Pat dry; place in a large bowl and season with salt.  In a small bowl, combine Dijon mustard, mayonnaise, lime juice, garlic, and pepper.  Mix well.  Pour over chicken, tossing well to coat.

Line a pan with foil (I personally love the non-stick version) or spray with a non-stick spray.  Place chicken to fit in a single layer.  Top the chicken with dried parsley.  Bake until cooked through, about 20-25 minutes.  Finish the chicken under the broiler until it is golden brown.  I cooked mine for 20 minutes at 400 degrees and then 5 minutes under the broiler.  Serve chicken with the pan juices drizzled on top.

Recipe adapted from Skinnytaste.com

Monday, June 06, 2011

Slow Cooker Barbecue Ribs

When I was putting everything together for this recipe, I realized it said chili sauce.  I misread it and thought it had said chili powder.  I used chili powder this time frame, but while at Target happened to see chili sauce in the same area as the ketchup.  Overall, I really enjoyed the ribs and flavoring.  I think the chili sauce would have given them a little more kick to them and think my husband would have liked them better that way.  Overall, quite an easy recipe to throw into the crock pot and forget about after you have browned the ribs in the oven.

Ingredients:
4 lbs pork baby back ribs
salt and pepper to taste
2 cups ketchup
1 cup chili sauce
1/2 cup packed brown sugar
4 TBSP vinegar
2 tsp dried oregano
2 tsp Worcestershire sauce

Instructions:

  1. Preheat oven to 400 degrees F (200 degrees C).
  2. Season ribs with salt and pepper. Place in a shallow baking pan. Brown in oven 15 minutes. Turn over, and brown another 15 minutes; drain fat.
  3. In a medium bowl, mix together the ketchup, chili sauce, brown sugar, vinegar, oregano, Worcestershire sauce, hot sauce, and salt and pepper. Place ribs in slow cooker. Pour sauce over ribs, and turn to coat.
  4. Cover, and cook on Low 6 to 8 hours, or until ribs are tender.
Recipe from AllRecipes.com

Friday, July 23, 2010

Seasoned Chicken Strips

Yesterday evening, I made Seasoned Chicken Strips and Oven "Fries". Both were really good and I can always tell if it's worth cooking again if Jakob, my 5 year old, wolfs it down!  He will eat anything we cook, but it is always interesting to see how much he enjoys it and when he does you know it's good!

So you start off this these basic items below.  We currently have some Honey Wheat bread that we purchased from Costco that I used for the breading.  I really have enjoyed making fresh bread crumbs using bread on hand with my food processor.  However, my food processor is a smaller one, so I can only do a little at a time!

Okay, so I put the bread in the food processor until it was nice and fine.  It did not take too long and Jakob did not whine for it being loud after hearing it again for the second time yesterday!

After the bread crumbs are ready, dump into a shallow bowl.  I always use my pie pans for this method.

Add the other dry ingredients to the bread crumb and mix well.  I was not sure how I would like the basil taste, but it turned out pretty good!  My husband did not complain either!  I was honestly a little shocked!


After the dry ingredients are ready, mix the egg, mustard, and garlic in another shallow bowl.  I used honey dijon mustard instead of plain mustard.  Instead of fresh garlic, I used 1/8 tsp of garlic powder in the egg mixture.

Coat the chicken with the egg mixture and then move to the dry ingredients and coat well.


I placed them on a baking sheet with parchment paper and cooked them at 400 degrees F for longer than the time mentioned.  Since I had the fries in the oven too I was accounting for possibly a longer cooking time.  The chicken coating came out really crispy which made me happy!  I probably could have pulled the chicken out a little before my Oven "Fries" were done, but it was all still really good!!

Here's the picture after I baked them in the oven.


Seasoned Chicken Strips
(Recipe originally from E-Mealz, 2010)
1 1/2 lbs chicken breasts, cut into tenderloins
1 egg
1 T mustard (I used Honey Dijon)
1 T minced garlic (I used 1/8 tsp garlic powder)
1 cup bread crumbs
2 tsp dried basil
1 tsp paprika
1/2 tsp salt
1/4 tsp pepper

  1. Preheat oven to 400 degrees F.
  2. Combine egg, mustard, & garlic in a shallow bowl.
  3. In another bowl, combine breadcrumbs and seasoning.
  4. Dip chicken into egg mixture and then in crumbs.
  5. Bake chicken for 15 minutes (tenderloins).

This post is linked to Foodie Friday.

E-MEALZ EASY AND DELICIOUS DINNER RECIPES

Thursday, July 22, 2010

Oven "Fries"


It has been a long time since I have cooked this recipe and these fries are so good!  They are low calorie and about 3 points per serving.  I figured I had 2 servings tonight, but still less calories than if I had fast food french fries!  These french fries soak in a salt-sugar mixture which helps pull out some of the water in the potatoes so they brown in the oven rather than steam!

The recipe calls for 1 1/4 lbs of baking potatoes.  I did not have a kitchen scale and approximated with 2 baking potatoes.  This might be more officially, but they turned out great overall!  First step is to peel and cut into french fries.  The recipe called for 1/2 inch strips, but I might have ranged between 1/4 to 1/2 inch.

Once they have been cut, place into a large enough bowl.  As I re-read the directions it said to only put 1/4 tsp of salt and the sugar into the bowl.  I covered the potatoes in water first before adding the salt and sugar so it did not go directly onto 1-2 french fries.

Let them sit for about 15 minutes.  I set a paper plate on top of them and started working on the chicken we were eating for dinner.

After they have soaked in the salt-sugar mixture, pat them dry with a towel.  In another bowl, (I rinsed the one I was using since I didn't have another larger bowl) toss the potatoes with the oil and paprika.  I slowly added the fries to the bowl and continued to toss to coat the oil and paprika onto them.

Spread the french fries evenly on the baking sheet.  I used parchment paper since we usually use parchment paper instead of a cooking spray.  However, after I looked at the Parchment paper I realized it said safe up to 420 degrees!  I decided to cook the fries at 400 degrees (even though the recipe called for 450) since the chicken I needed to cook was 400 degrees.

Overall, they came out really good.  Next time I cook these I will probably line my pan with non-stick aluminum foil and cook them at 450 degrees F.  They will be even more crispy that way!  However, my 5 year old wolfed these down super fast and they were still more healthy than the fast food version!


Oven "Fries"
(Recipe originally from Weight Watchers New Complete Cookbook, 2006)
1 1/4 lbs baking potatoes, peeled and cut into 1/2 inch strips
3/4 tsp salt
1/2 tsp sugar
4 tsp oil
1 tsp paprika
  1. Preheat the oven to 450 degrees F; spray a nonstick baking sheet with nonstick spray.
  2. In a large bowl, combine the potatoes, 1/4 tsp of the salt, and the sugar with cold water to cover.  Soak 15 minutes; drain and blot dry.
  3. In another bowl, toss the potatoes with the oil and paprika.  Place in a single layer on the baking sheet.  Bake, turning the potatoes over as they brown, until cooked through and crisp, about 45 minutes.  Sprinkle with the remaining 1/2 tsp of salt.
Nutrition: (1/4 of potatoes): 159 Cal, 5 g Fat, 1 g Sat Fat, 0 g Trans Fat, 0 mg Chol, 442 mg Sod, 28 g, Carb, 3 g Fib, 2 g Prot, 7 mg Calc.
POINTS value 3.

This post is linked to Foodie Friday.

Oat Waffles & Bacon Breakfast

I have been reading Delightful Country Cookin' online and enjoy reading what she cooks.  I read last night about her Oat Waffles she cooked and they looked really good!  I decided to cook them for breakfast and save the extras for another morning when I do not feel like cooking.  Jakob helped me mix all the ingredients and he wolfed down an entire waffle this morning and said he loved them!


While in the kitchen this morning, I also cooked the bacon from the refrigerator.  It was at the point where it had to be cooked soon!  So I cut it into small pieces and cooked it quickly to use with future meals.  Plus, I ate a few pieces and the craving for bacon was satisfied!


The waffles call for oat flour.  I used my food processor and poured 1 1/4 cup oats into it until it was smooth.  I only had regular oatmeal and the waffles seemed fine.  I might try quick-cooking oats next time when I have them in my cupboard.


Once the oats look like flour, mix the other dry ingredients together in a bowl.  One thing I think would have helped this recipe was a whisk and I do not have one at the moment!  Another thing to add to my list for cooking!  I probably could have used my nice mixer (it has a whisk), but did not want to wash it afterwards!


Once the dry ingredients are ready, mix the wet ingredients together in another bowl.  Jakob helped me mix these ingredients and he loved it!  He is concentrating in this picture to make sure he does not spill any of the ingredients!


Finally mix the wet and dry ingredients together.  Jakob did this too for me and did a pretty good job.  I used my 1/2 cup measuring cup to pour them on my waffle iron.  I have to spray my waffle iron with Pam now.  This recipe claims it will make 8 waffles and it was pretty accurate.  I think I stopped around 6 today!  I love saving waffles in a Ziplock freezer bag for mornings that I do not want to cook!  I tried using my FoodSaver before with pancakes and it takes a little too much air out and is not good!


I got the idea to cook the bacon from Delightful Country Cookin'.  She mentioned it on an earlier post and since I really needed too cook this bacon, it was quick and easy!  All I did was cut it into small pieces.  I cooked it on medium-medium high and just stirred it occasionally while I worked on the dishes!  I put it all in a Ziplock and have it in the refrigerator for later meals.


Oat Waffles
(modified from Taste of Home Light and Tasty Annual Recipes 2002) 
1 1/4 cup quick-cooking oats
1 cup flour (gluten free works fine)
4 t. baking powder
1 T. sugar
1/2 t. salt
2 eggs
1 3/4 cups milk
2 T. oil
1 1/2 t. vanilla

Put oats in a blender and process until they become a flour-like texture.  Place in a bowl with flour, baking powder, sugar, and salt.  In a separate bowl, mix together eggs, milk, oil, and vanilla.  Combine dry and wet ingredients (don't over stir!).  Cook batter 1/2 cup at a time in a waffle iron.  Makes 8 waffles.

Nutrition: 178 cal, 6g fat, 1g sat fat, 54mg cholesterol, 307mg sodium, 24g carbs, 2g fiber, 7g protein.

Thursday, July 01, 2010

Cheeseburgers with Sweet Potato French Fries

Jeff and I cooked cheeseburgers yesterday evening.  In the past, we usually bought frozen patties from Costco and Jeff seasoned them and took them out to the grill.  I wanted to try doing them ourselves to see if I would like the taste better.  The hamburger patties from Costco tend to be dry to me.  Overall, I thought they came out pretty good and Jeff's only comment was he could have had a little more on the seasoning.

I used my Better Homes and Gardens recipe book that I have had since we probably got married. It was a basic recipe that began with beating an egg and then adding bread crumbs. Jakob complained about the noise I made when I ran my small food processor for the bread crumbs! After mixing the egg and the bread crumbs, I added the seasoning and the hamburger meat.  I think I cold have made five to six patties instead of the four.  Jeff might add additional seasoning to the outside of his hamburger the next time we make them.  The sweet potato french fries were store bought from Costco and cooked about thirty minutes to make them extra crispy.


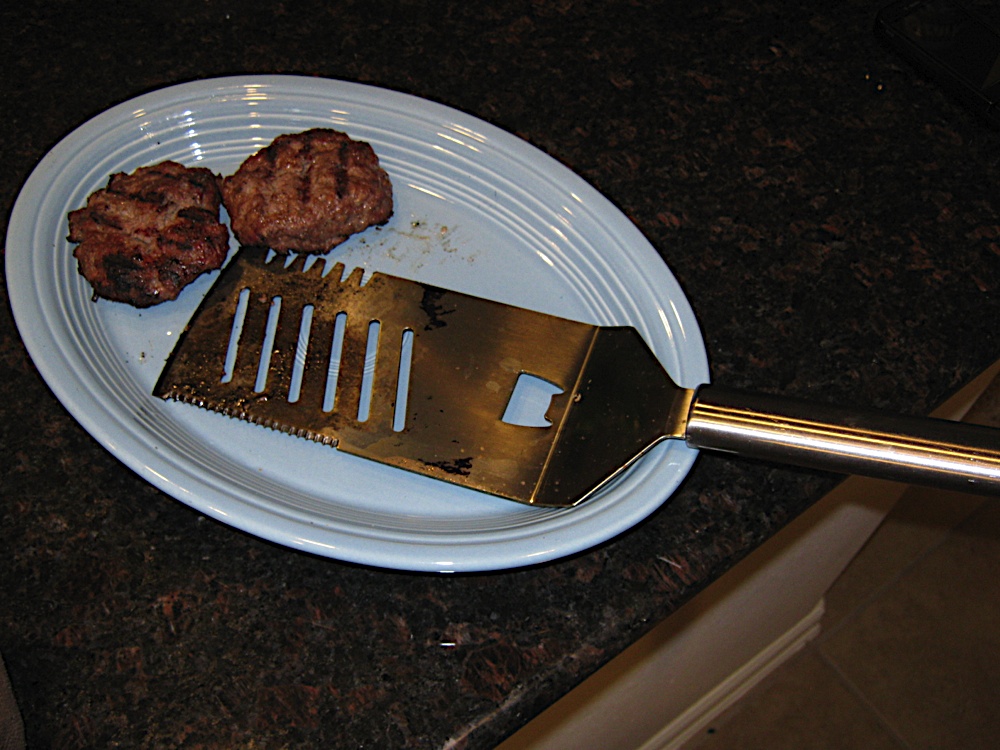
Better Homes and Gardens New Cook Book - Cheeseburgers
1 beaten egg
2 TBSP milk or water
3/4 cup soft bread crumbs (1 slice) or 1/4 cup fine dry bread crumbs
1/4 tsp onion powder
1/2 tsp dry mustard
1/8 tsp garlic powder (optional)
1/4 tsp salt
1/4 tsp pepper
1 lb ground beef
4-6 hamburger buns, split and toasted

LinkWithin

Related Posts with Thumbnails